 by
by Using a car jack correctly is essential for anyone performing car maintenance or emergency tire changes. Whether it’s a scissor jack, hydraulic jack, or bottle jack, safety and proper technique matter most. Here’s a step-by-step guide to using a car jack and jack stands, covering everything from jack placement to jacking range.
Understanding Different Types of Car Jacks
Before lifting a car, it’s important to know which car jack suits the task:
-
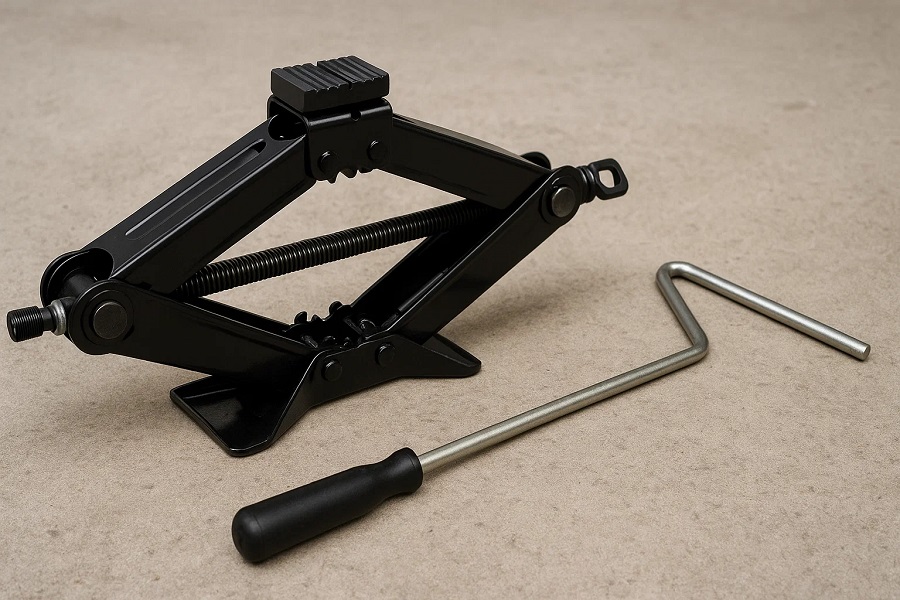
Scissor Jack: Compact and common in most vehicles, ideal for emergencies.
-
Hydraulic Jack: Often referred to as a hydraulic car jack, it’s powerful and easier to use.
-
Bottle Jack: Known for lifting heavy vehicles; taller than scissor jacks.
-
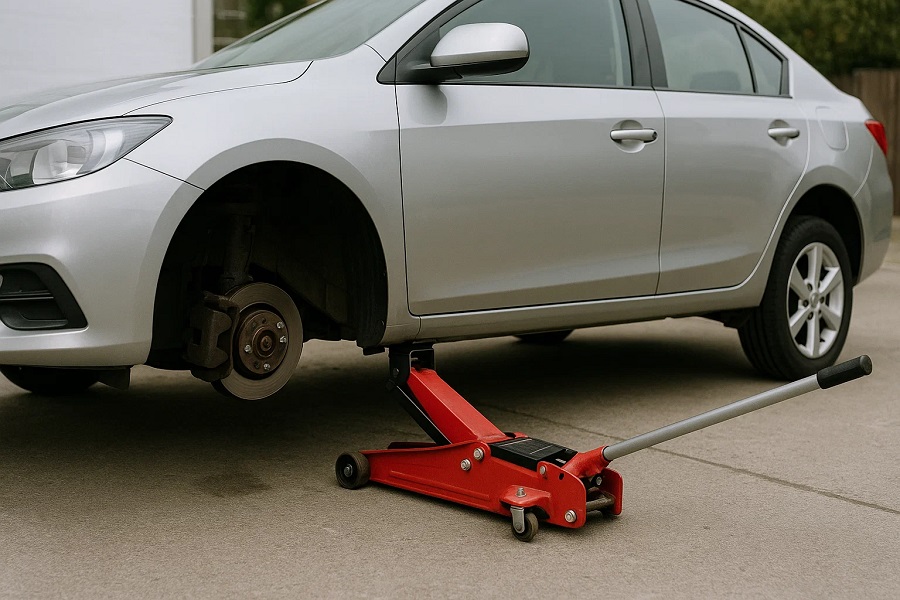
Floor Jack: Common in home garages with a wide jacking range.
Knowing the difference—like hydraulic jack vs scissor jack or bottle jack vs floor jack—helps in choosing the right tool for the job.
Step 1: Choose a Safe Surface
Always park on a flat, hard surface and apply the parking brake. Use wheel chocks behind the tires to prevent rolling. Never jack up a car on uneven or soft ground.
Step 2: Locate the Jacking Points
Every vehicle has specific jacking points or jack points—areas reinforced to handle lifting. These are typically behind the front wheels or in front of the rear wheels. Check your owner’s manual to confirm the lift points and avoid damaging the undercarriage.
Step 3: Check the Vehicle Weight Capacity
Before using a car jack, ensure it can support the car’s weight. Exceeding the vehicle weight capacity is dangerous. Most jacks will have this info printed clearly—always double-check.
Step 4: Position the Car Jack Correctly
Slide the scissor jack, bottle jack, or hydraulic jack under the recommended jack point. Make sure the jack placement is centered and secure.
Step 5: Lift the Vehicle
Carefully begin lifting. If using a scissor jack, rotate the handle slowly. With a hydraulic car jack, pump the handle evenly. Lift just high enough to complete your task, whether it’s a tire change or brake inspection.
Step 6: Place Jack Stands
Once lifted, never work under a car with only a jack. Slide jack stands under the vehicle’s frame at the correct jack stand placement spots. Lower the car gently onto the stands to ensure stability.
Step 7: Complete the Repair or Maintenance
With the car safely supported, proceed with the necessary work. This process is essential when learning how to use a car jack for maintenance or how to use a car jack and jack stands for car repairs.
Step 8: Lower the Vehicle Safely
After completing the repair:
-
Raise the vehicle slightly with the car jack.
-
Remove the jack stands.
-
Lower the car slowly back to the ground.
Bonus: Car Jack Safety Tips and Maintenance
Safety should always come first. Follow these car jack safety tips:
-
Never crawl under a car supported only by a jack.
-
Always use jack stands.
-
Use wheel chocks to prevent rolling.
Also, learn how to maintain a car jack by cleaning and storing it properly after each use. If a jack doesn’t operate smoothly, here’s how to troubleshoot a car jack:
-
Check for oil leaks (for hydraulic types).
-
Ensure the release valve isn’t stuck.
-
Lubricate moving parts.
Choosing the Best Jack for Your Needs
Selecting the right jack depends on your vehicle type and storage space:
-
Best car jack for SUVs: Look for a bottle jack or high-capacity hydraulic jack.
-
Compact car jack for emergencies: A scissor jack fits neatly in most trunks.
Conclusion
Knowing how to safely use a car jack and jack stands is essential for every car owner. Whether performing routine maintenance or an emergency tire change, using the proper tools and techniques will keep both you and your vehicle safe. From finding jacking points to placing jack stands, this step-by-step guide to using a car jack covers it all.


