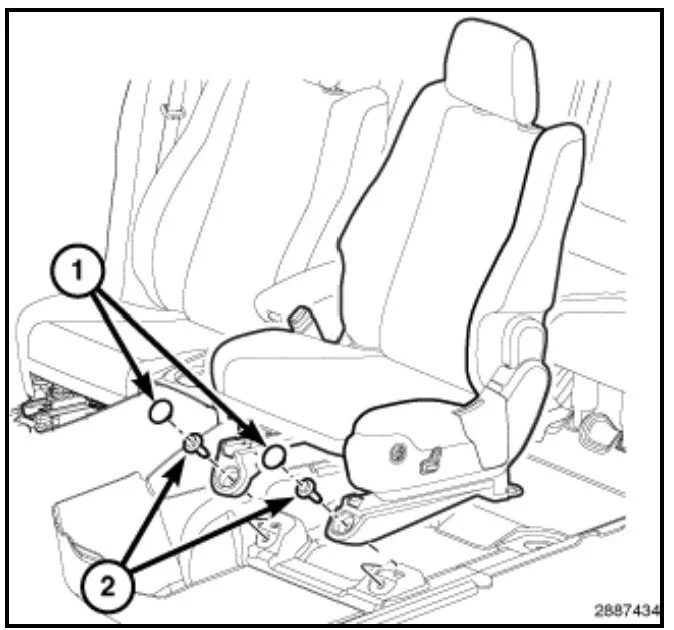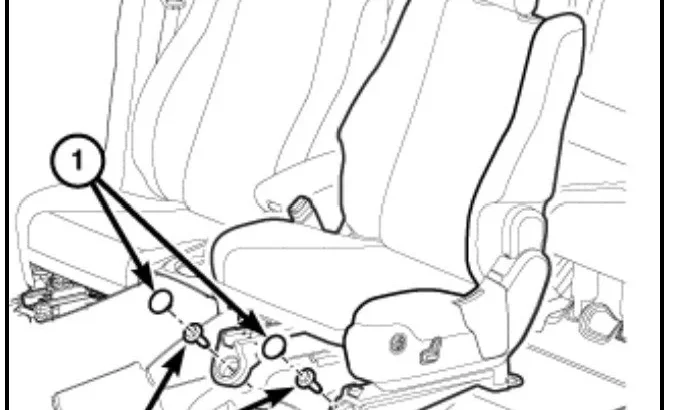
Removing the passenger seat from a 2010 Mazda 3 can be a straightforward task if you follow the right steps. This article will help you through the process of replacing the seat, cleaning underneath it, or making adjustments. Here’s a detailed, easy-to-follow method for effectively and safely removing the seat.
Tools Needed:
- Socket wrench
- Ratchet wrench
- 10mm and 14mm sockets
- Extension bar (optional)
- Plastic trim removal tool (optional)
- Safety gloves (recommended)
- Screwdrivers (optional)
Step 1: Safety First – Disconnect the Battery
Before you start removing the seat, it’s important to prioritize safety, especially if your vehicle has electrical components connected to the seat, like airbags, sensors, or power adjustments.
- Locate the car’s battery under the hood and disconnect the negative terminal. This will help prevent any electrical issues or accidental deployment of airbags during the removal process.
Step 2: Slide the Seat to the Forward Position
To access the rear bolts securing the passenger seat, you’ll need to adjust its position.
- Move the seat forward as much as possible. This will expose the bolts at the back of the seat.
Step 3: Remove the Front Bolts
With the seat moved forward, the front bolts are now accessible.
- Locate the bolts securing the front of the seat to the floor. These are typically 10mm bolts on the 2010 Mazda 3.
- Using a socket wrench, loosen and remove the front bolts. Make sure to keep these bolts in a safe place, as you’ll need them when reinstalling the seat.
Step 4: Slide the Seat to the Rear Position
Next, you’ll need to adjust the seat back to expose the rear bolts.
- Slide the seat all the way back to reveal the rear bolts that secure it to the floor.
Step 5: Remove the Rear Bolts
Once the seat is positioned to expose the rear bolts:
- Locate and remove the rear bolts that are securing the seat. These bolts may be the same 10mm size, but they could also be 14mm, so make sure you have the right size socket.
- Use your socket wrench to loosen and remove these bolts.
Step 6: Disconnect Any Electrical Components (if applicable)
If your passenger seat has electrical components, such as power adjustments, seat heating, or airbag sensors, you’ll need to disconnect these wires before fully removing the seat.
- Locate the wiring connectors under the seat. These may include a small plug for the seatbelt sensor, airbags, or power seat controls.
- Use a plastic trim tool or your hands to gently disconnect the wiring, ensuring that no wires are damaged in the process.
- Take extra care with the airbag connectors, as incorrect disconnection could trigger warning lights or airbag malfunctions.
Step 7: Remove the Seat
With the bolts and wires disconnected, the seat should now be free from its mounting points.
- Lift the seat out of the car. Since the seat can be heavy, it’s a good idea to have a second person assist you with this step to avoid straining your back or damaging the interior of your car.

Step 8: Inspect and Clean
With the seat removed, you now have access to areas that are usually hard to reach, like beneath the seat.
- Take this opportunity to clean underneath the seat, check for any debris, and inspect the floor for any damage or wear.
Step 9: Reinstall the Seat
To reinstall the passenger seat, simply reverse these steps:
- Position the seat back into place.
- Reconnect any electrical wiring, ensuring all connections are secure.
- Tighten the front and rear bolts back into place using the socket wrench.
- Reconnect the car’s battery, starting with the positive terminal.
Additional Tips:
- Airbag Safety: If your Mazda 3 has side airbags in the seats, be especially careful. Mishandling the electrical connectors could trigger the airbag system. If you’re unsure about disconnecting the airbags, it’s best to consult a professional.
- Seatbelt Sensor: Many vehicles, including the Mazda 3, have seatbelt sensors integrated into the seats. Ensure the seatbelt buckle and sensor wiring are properly reconnected to avoid triggering any error lights.
- Label Bolts: If you’re removing multiple seats or working on several components, consider labeling the bolts and connectors to make reinstallation easier.
By following these steps, you should be able to safely and effectively remove the passenger seat in your 2010 Mazda 3. Remember to take your time, and always prioritize safety, especially when dealing with electrical components like airbags or seatbelt sensors.
